Last updated:
NZBC E2 External Moisture Explained: An Auckland Homeowner’s Guide
Quick answer: NZBC E2 External Moisture is the New Zealand Building Code clause that requires every home’s roof, walls and external openings to keep water out. For Auckland renovations that touch your weathertight envelope, an LBP Design Class designer is legally required to do the work.
When your builder or architect mentions “E2” in a renovation quote, what they’re really saying is this: it’s the part of the Building Code that decides whether your house leaks or doesn’t.
E2 — formally NZBC Clause E2 External Moisture — is the rule that requires every roof, wall and external opening in a New Zealand home to keep water out. It sounds straightforward. It isn’t. The technical document behind it (E2/AS1) is hundreds of pages long, was updated to its 4th edition on 28 July 2025, and is the single most contentious clause in the entire Building Code.
For Auckland homeowners, E2 matters more than anywhere else in the country. Auckland carries the largest concentration of “leaky era” homes built between roughly 1994 and 2004 with monolithic plaster cladding systems that the Building Code of the day didn’t adequately police. The weathertightness crisis that followed cost the country billions, and the law changed because of it. E2’s current form — and the requirement that a Licensed Building Practitioner (LBP) in the Design Class signs off the weathertightness design — exists because of that decade of failure.
We’re Sonder Architecture, an Auckland architectural studio. Our team includes a Licensed Building Practitioner (LBP) in the Design Class — meaning we’re legally authorised to design and supervise Restricted Building Work, including weathertightness. Every E2 compliance design we lodge with Auckland Council is signed by a real human who is personally accountable on the Record of Work.
This is what we wish every Auckland homeowner knew about E2 before signing a renovation contract. What the clause actually says in plain English. What the four Acceptable Solutions and two Verification Methods mean for your project. What changed in the July 2025 4th edition. When E2 gets triggered during a renovation. And what it means if your home is one of the 100,000+ Auckland properties affected by the leaky era. No code-speak. Just the version we’d give a friend.
What NZBC E2 External Moisture Actually Says (In Plain English)
E2 is one clause of the New Zealand Building Code that sits in Schedule 1 of the Building Regulations 1992. The Building Code itself is the national performance standard every build must meet — every new home, every extension, every reclad, every change that touches your weathertight envelope. E2 is the moisture chapter.
The official wording from MBIE (the Ministry of Business, Innovation and Employment, which administers the Building Code) reads: “External roof, wall claddings and external openings will prevent external moisture from causing undue dampness or damage.”
Stripped of regulatory language, E2 has four jobs. Your roof, walls and openings must:
- Prevent water entry — water from the outside cannot get inside the building envelope
- Prevent water absorption and transmission — materials cannot soak up water and pass it through to the inside
- Prevent the accumulation of water — water that does get into a cavity cannot pool or build up
- Allow for dissipation — any moisture that gets in must be able to dry out
Read those four jobs again. They’re not separate rules. They’re a system. A house that prevents water entry but doesn’t allow drying out is still going to rot — slowly, invisibly, in the framing behind your linings. That’s exactly what happened to the leaky era homes built under earlier versions of E2 in the late 1990s.
The difference between E1 and E2 (people get these mixed up)
The Building Code has two moisture clauses, and homeowners often confuse them. E1 is Surface Water — it deals with stormwater, drainage, and water from the ground around your home. E2 is External Moisture — rain, wind-driven water, and moisture entering the building envelope from above and around. If you’ve been told you need an E1 design (drainage) and an E2 design (weathertightness) on the same project, that’s normal — they’re separate compliance pathways.
Important: E2 is published in Schedule 1 of the Building Regulations 1992 and read alongside the Building Act 2004. The clause itself is short — the complexity is in the Acceptable Solutions and Verification Methods that show how to comply with it. Read the official clause text at legislation.govt.nz and the MBIE guidance at building.govt.nz.
The limit on application — E2.2
Not every building has to meet every part of E2 in the same way. The clause includes a limit on application (E2.2) that defines which buildings are in scope and which aren’t. For a standard suburban Auckland home — detached, terraced, or unit title — you’re firmly in scope and the full performance requirements apply. Some accessory structures (small sheds, certain canopies) sit outside E2’s full reach. The limit on application is the bit your designer reads before deciding which Acceptable Solution to apply.
A real Auckland scenario — when E2 quietly becomes the whole project
Imagine you own a 1998 monolithic-plaster-clad home in Te Atatu. The cladding looks tired. You want a rear extension to open up the kitchen onto the garden. Two things happen at once.
First, the new extension creates new external walls, new junctions, new flashings, new roof-to-wall transitions — all of which must satisfy E2 in their own right. Second, the cladding you’re cutting into for the new opening will reveal whatever’s behind it. If that’s the original monolithic system, you’re now staring at a weathertightness assessment of the existing house, not just the new bit. What started as a “kitchen extension” becomes, in regulatory terms, a partial reclad with consent implications across half the property.
💡 Homeowner tip: If your home was built between 1994 and 2004 and you’re planning any work that breaks into an external wall, ask your designer to do a weathertightness assessment of the existing structure before they draft the extension. Discovering the problem after consent is lodged is the worst time to discover it.
This is why E2 isn’t a checkbox at the end of a project. It’s a design decision that runs through every drawing, every detail, every product specification, and every site visit. The clause sounds short. The reality of complying with it across an Auckland renovation is anything but.
The Acceptable Solutions and Verification Methods — and What Changed in July 2025
The Building Code itself only tells you the performance you must achieve. How you actually achieve it is set out in two parallel routes — Acceptable Solutions and Verification Methods. Think of E2 as the goal, and AS/VM as the two different paths to get there.
An Acceptable Solution is a deemed-to-comply route. Follow the document exactly — use the specified materials in the specified details in the specified configurations — and the Building Consent Authority (Auckland Council, for Auckland projects) accepts that your design meets E2 without further proof. It’s the prescribed recipe. It’s the route most renovation projects take, because it’s faster, cheaper, and councils know what they’re looking at.
A Verification Method is the calculated route. You don’t follow the recipe — you instead prove, with engineering calculations and testing data, that your alternative design satisfies the same performance criteria. Verification Methods are used for unusual claddings, performance-based designs, or projects where the Acceptable Solution doesn’t fit.
E2 currently has four Acceptable Solutions and two Verification Methods. Here’s what each one covers.
E2/AS1 — timber-framed buildings (the big one)
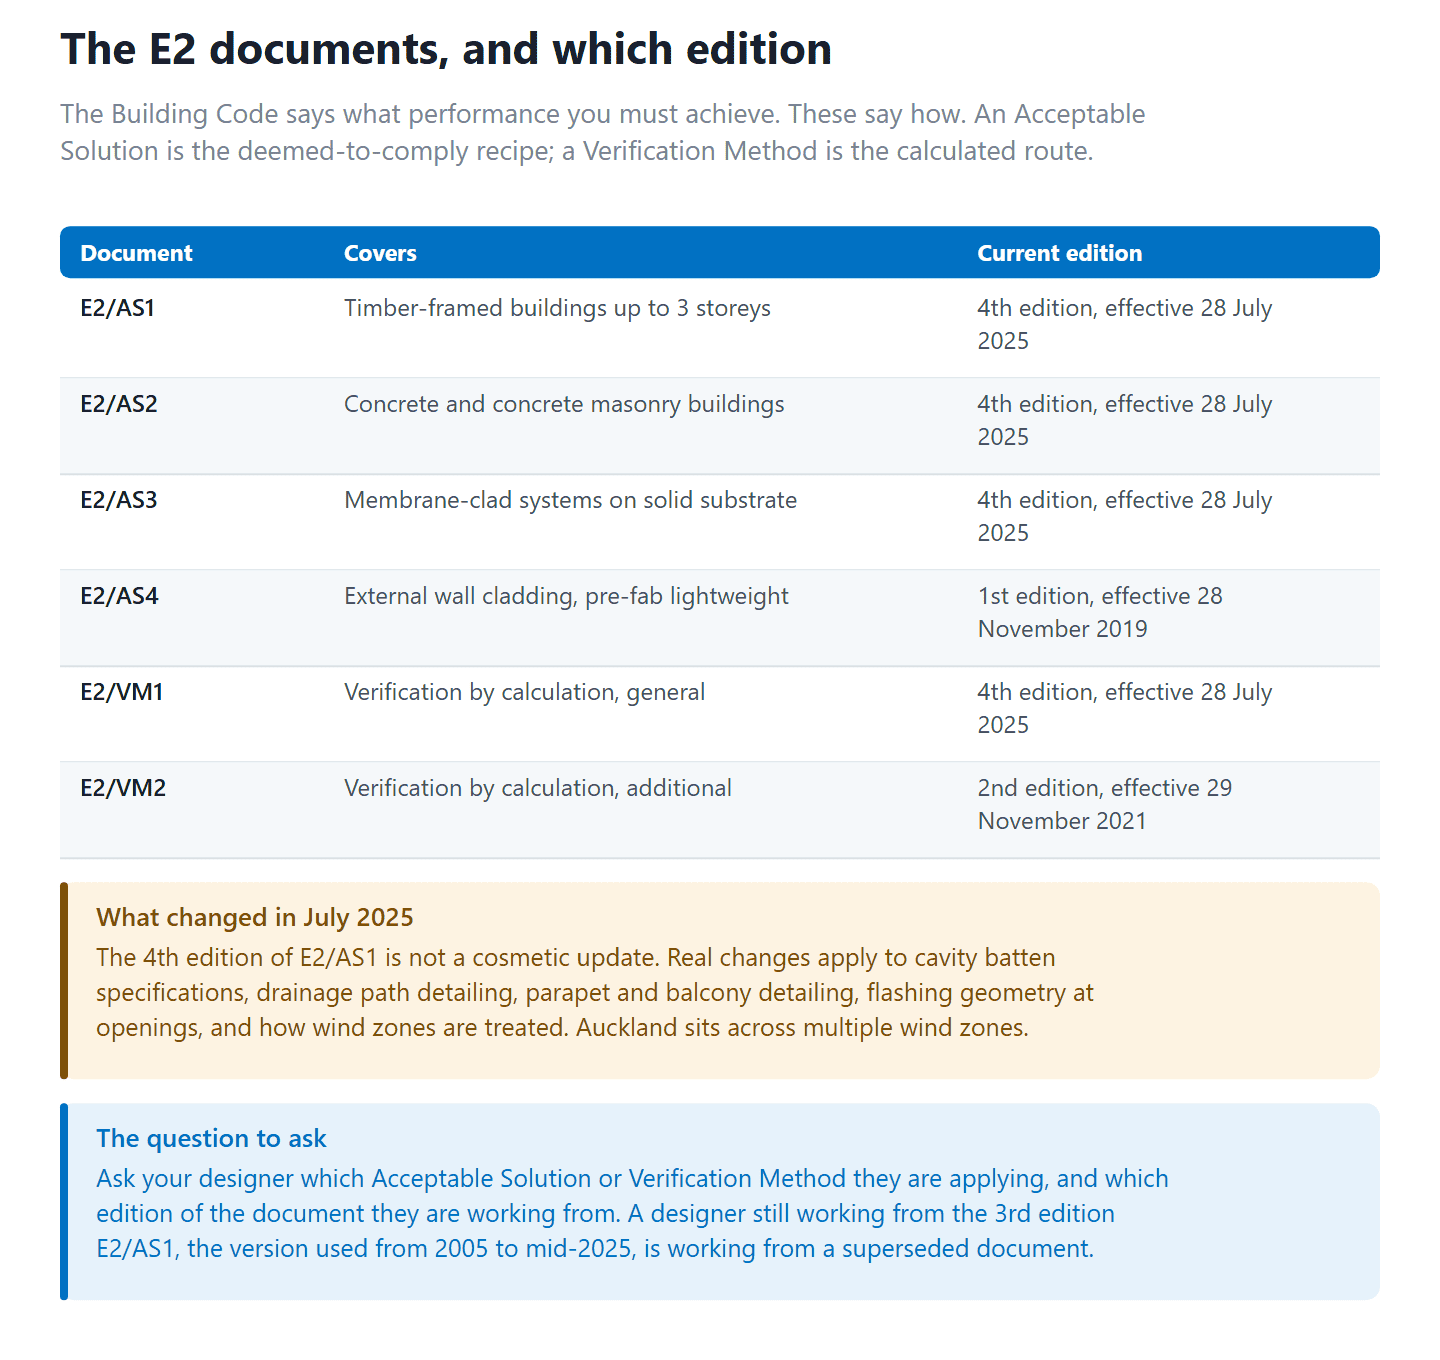
E2/AS1 is the document most New Zealand homes are designed to. It covers timber-framed buildings up to three storeys — which is the vast majority of detached homes, townhouses, and many medium-density developments in Auckland. The 4th edition of E2/AS1 came into effect on 28 July 2025, replacing the 3rd edition that had been in force (with multiple amendments) since 2005.
The 4th edition isn’t a cosmetic update. Real changes apply to:
- Cavity batten specifications — drained and ventilated cavities behind direct-fixed claddings have updated detailing requirements
- Drainage path detailing — how water that does get in must be guided out
- Parapet and balcony detailing — the bits of the building that historically failed most often
- Flashing geometry at openings — windows, doors, and penetrations
- Wind zone application — Auckland sits across multiple wind zones; the 4th edition tightens how each zone is treated
| Document | Covers | Current Edition |
|---|---|---|
| E2/AS1 | Timber-framed buildings up to 3 storeys | 4th edition, effective 28 July 2025 |
| E2/AS2 | Concrete and concrete masonry buildings | 4th edition, effective 28 July 2025 |
| E2/AS3 | Membrane-clad systems on solid substrate | 4th edition, effective 28 July 2025 |
| E2/AS4 | External wall cladding — pre-fab lightweight | 1st edition, effective 28 November 2019 |
| E2/VM1 | Verification by calculation (general) | 4th edition, effective 28 July 2025 |
| E2/VM2 | Verification by calculation (additional) | 2nd edition, effective 29 November 2021 |
Important: If your designer is still working from the 3rd edition E2/AS1 documents (the version most professionals used from 2005 to mid-2025), your consent application may come back from Auckland Council with requests for information you weren’t expecting. Confirm with your designer that they’re applying the 4th edition. The latest documents are available at building.govt.nz.
E2/AS2 — concrete and masonry homes
E2/AS2 applies to homes built primarily from concrete and concrete masonry — including some Auckland mid-century block homes, brick-and-block construction, and modern concrete tilt-slab residential. Like E2/AS1, the 4th edition came into effect on 28 July 2025.
E2/AS3 — membrane-clad systems
E2/AS3 covers buildings clad in membrane systems applied to a solid substrate. This is the document used for some modern architect-designed homes with monolithic-appearance finishes, where the cladding system is a continuous membrane rather than discrete boards or panels.
E2/AS4 — lightweight pre-fab claddings
E2/AS4 is the newest of the four. It deals with specific lightweight pre-fabricated external wall cladding systems and is more commonly used in commercial and medium-density residential contexts than detached homes.
The Verification Methods (E2/VM1 and E2/VM2)
Verification Methods are the calculation routes. They’re used when the design doesn’t fit any Acceptable Solution — typically architect-designed homes with unusual claddings, complex geometries, or imported systems that aren’t pre-approved in the AS documents. Verification routes cost more in design fees, take longer through council, and require a designer with specific weathertightness expertise. They’re not the standard path for a typical renovation.
“The 4th edition E2/AS1 isn’t a small update. There are real changes to how cavity battens, drainage and parapet detailing have to be specified. If your designer is still working off the 3rd edition documents from 2020, your consent application could come back with requests for information you weren’t expecting.”
— Sonder Architecture Team
💡 Homeowner tip: Ask your designer which Acceptable Solution (or Verification Method) they’re applying to your project, and which edition of the document they’re using. If they can’t answer cleanly, that’s a signal worth paying attention to.
When E2 Gets Triggered During an Auckland Renovation
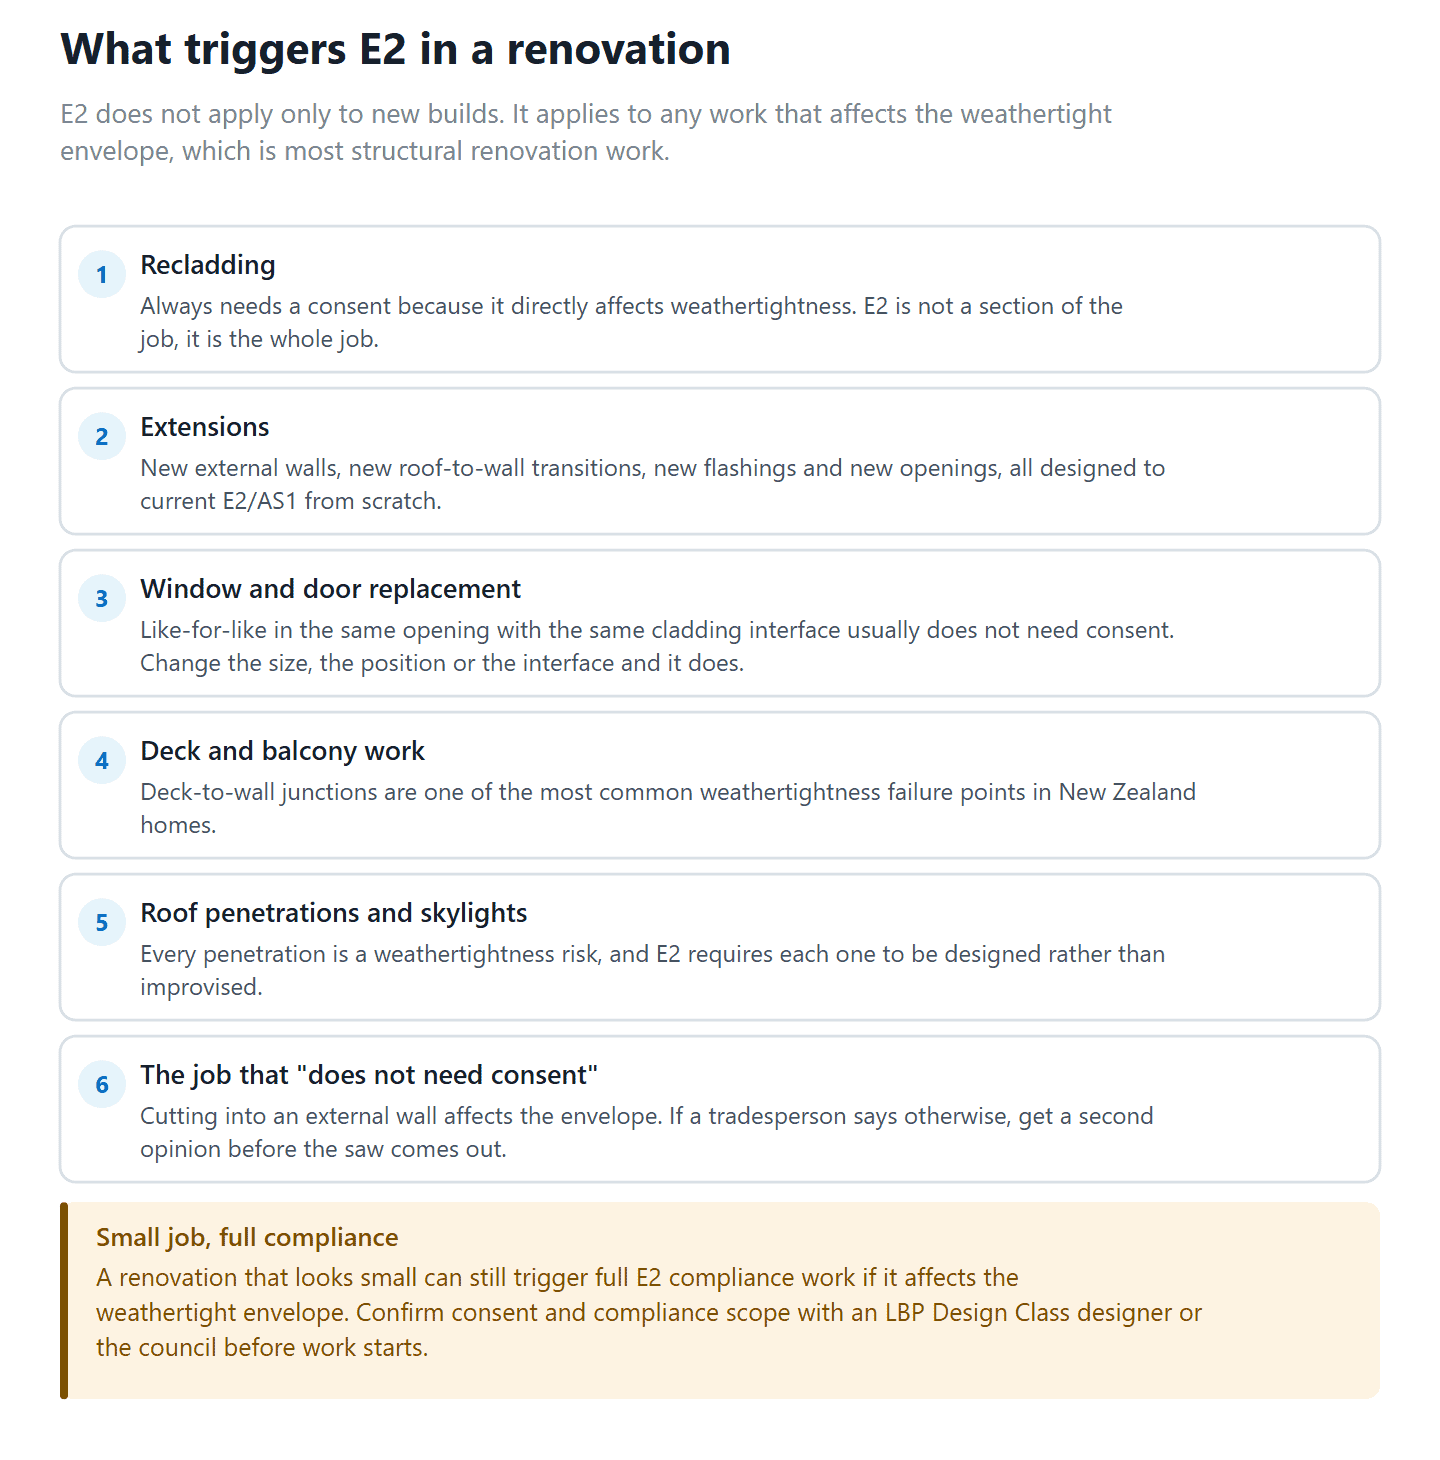
E2 doesn’t apply only to new builds. It applies to any work that affects your weathertight envelope — which is most structural renovation work, almost all extensions, every reclad, and a surprising amount of what people assume is “just a small job.” Here’s where it shows up.
Recladding — E2 is the whole project
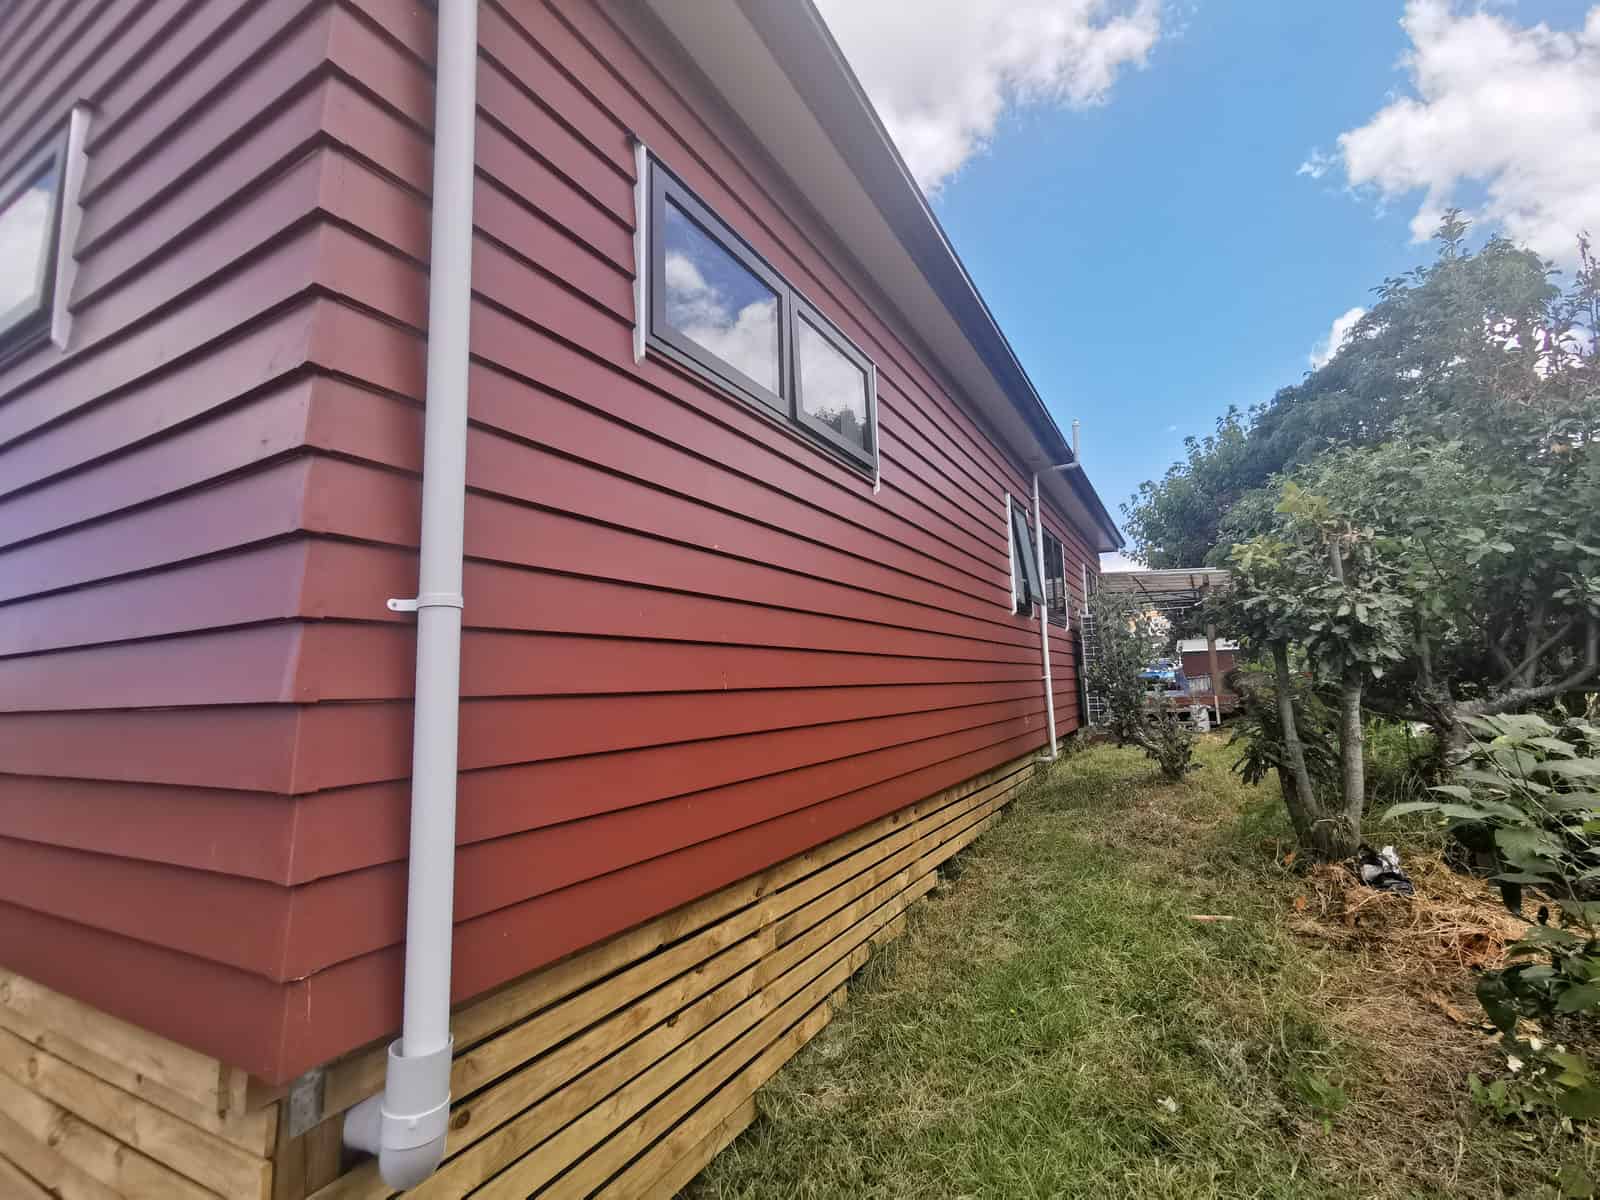
Replacing your home’s external cladding always requires a building consent because it directly affects weathertightness. For an Auckland reclad, E2 isn’t a section of the consent application — E2 is the consent application. Your designer will specify the new cladding system, the cavity construction, the drainage path, the flashings at every penetration, the window-to-wall junctions, the deck-to-wall connections, and the head and sill details. Every one of those decisions is an E2 decision.
Full Auckland reclads on a standard 150-200m² home typically cost $150,000 to $350,000 depending on size, cladding choice, and the extent of damage found behind the existing cladding. Consent fees for projects in that value range sit in the $5,400-$7,700 deposit bracket, with total consent costs of $7,000-$12,000 not unusual.
Extensions — new walls, new junctions, new E2 design
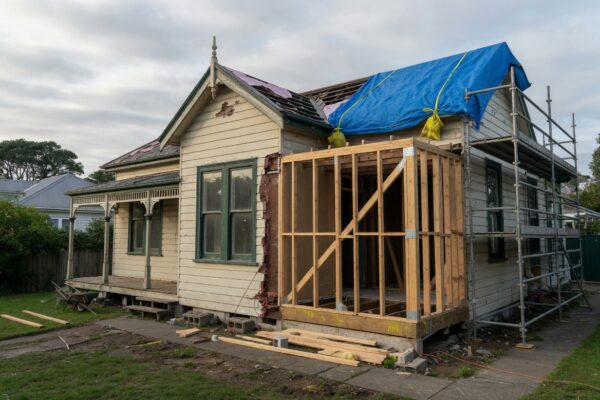
Any extension creates new external walls, new roof-to-wall transitions, new flashings, and new openings — all of which are designed to E2 from scratch. The detail that catches most homeowners off-guard is what happens where the new envelope meets the old one. That junction is a weathertightness risk point, and it has to be designed and documented before the council will issue consent.
For a single-storey rear extension on a 1965 weatherboard villa in Grey Lynn, the new walls are designed to current E2/AS1. The transition between the new walls and the existing villa fabric is where the design effort concentrates — and where, if rushed, the leaks of the future start.
Window and door replacement
Like-for-like window or door replacement (same size, same opening, same cladding interface) usually doesn’t need consent, under Schedule 1 of the Building Act 2004. But the moment you change the size of the opening, the cladding interface, or the flashing detail, you’re back in E2 territory and you need consent. Aluminium-joinery upgrades on monolithic-clad leaky-era homes are a particularly tricky example — the new windows may need to integrate with cladding repairs that themselves trigger broader E2 review.
Deck and balcony work
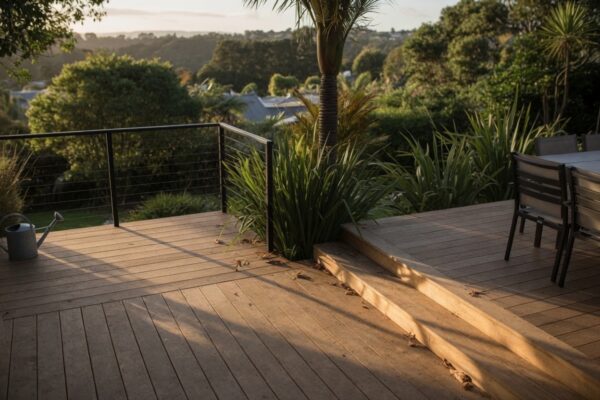
Deck-to-wall junctions are one of the most common weathertightness failure points in NZ homes. Any deck that attaches to your home and breaches the cladding line is in E2 scope. The flashing, drainage and waterproofing at that junction has to be designed and documented. A simple-looking deck replacement on a 1980s Howick brick-and-tile bungalow can become a multi-layered E2 design exercise once you account for the connection back to the existing house.
Roof penetrations and skylights
Every penetration through your roof — skylight, solar tube, vent, plumbing stack — is a weathertightness risk. E2 requires each one to be designed with appropriate flashings, fall, and water management. Adding a single skylight on its own can be Schedule 1 exempt if it’s a like-for-like replacement, but most new skylights or vents require consent and an E2-compliant design detail.
Important: A renovation that “looks small” can still trigger full E2 compliance work if it affects the weathertight envelope. Confirm consent and compliance scope before contracts are signed, not after. Auckland Council’s e-consent portal lists current standard processing at 20 working days — but complex E2 designs that come back with requests for information can stretch that significantly. See aucklandcouncil.govt.nz for current timeframes.
The renovation that “doesn’t need consent” — until it does
One of the most common conversations we have with new clients goes like this: “The builder said we don’t need consent, we’re just opening up the kitchen wall.” Then we look at the wall. It’s an external wall. The proposed opening changes the cladding interface. The lintel sizing affects structural performance (which is Clause B1, separate from E2 but designed alongside it). The new opening needs flashing detail. Schedule 1 exemptions are narrow, and councils enforce them strictly when challenged. The cost of building without consent — and being caught — is significantly higher than the cost of doing it right.
💡 Homeowner tip: If a tradesperson tells you a job doesn’t need consent and that job involves cutting into an external wall, get a second opinion before you proceed. The downstream cost of an unconsented external alteration on resale — or under a Notice to Fix — is steep.
Why E2 Compliance Requires an LBP Design Class Designer
Weathertightness is one of the highest-risk areas in the Building Code. The Building Act 2004 reflects that by designating certain work as Restricted Building Work (RBW) — work that must be carried out or supervised by a Licensed Building Practitioner. Weathertightness design is one of those categories.
The LBP system was introduced after the leaky building crisis to make the people responsible for high-risk design and construction work personally accountable. Before LBP, anyone could draft and sign weathertightness designs. After LBP, only a licensed practitioner can. The Record of Work is the document the LBP signs at the end of a project — it’s their personal statement that the work has been done to the consented design.
What “LBP Design Class” means
There are several LBP licence categories — carpentry, foundations, brick and blocklaying, roofing, external plastering, and Design. The Design Class covers the people who design buildings — but only at certain levels of complexity. Design Class is the qualification to design and supervise Restricted Building Work on residential and small-to-medium commercial buildings up to 2 storeys (Design 2) or 3 storeys (Design 3).
For most Auckland home renovations and extensions, an LBP Design 2 designer covers the scope. For taller, more complex projects (some new builds, larger developments), Design 3 is required. Every Sonder weathertightness design is signed by a personally accountable, licensed practitioner in the Design Class.
The difference between an “architect,” “architectural designer,” and “draughtsman”
This trips up many homeowners. The title architect in New Zealand is legally protected — only people registered with the New Zealand Registered Architects Board (NZRAB) can call themselves architects. An architectural designer is someone who designs buildings but isn’t NZRAB-registered. The two categories overlap significantly in what they can do — and both can hold LBP Design Class.
A draughtsman draws plans but isn’t necessarily licensed to design Restricted Building Work. For any project involving E2 weathertightness, you need the person producing the consent drawings to either hold LBP Design Class themselves, or to work under the supervision of someone who does. Confirm this before you engage anyone — it’s a public register at lbp.govt.nz.
What the LBP actually does to satisfy E2
From the inside, satisfying E2 on a renovation looks like this. Your designer:
- Assesses the existing weathertight envelope — what’s already there, how it currently performs, where the risk points sit
- Selects the appropriate Acceptable Solution or Verification Method for the project scope
- Specifies the cladding system, cavity construction, drainage, building wrap and any membrane systems
- Designs every junction in detail — drawings, sections, dimensions — where new work meets existing fabric, where claddings transition, where openings interrupt the envelope
- Specifies flashings at every penetration, opening and transition
- Documents the wind zone, exposure zone, and any local factors (Auckland’s coastal exposure being a major one)
- Provides the consent application package to Auckland Council
- Responds to any Requests for Information (RFIs) from council reviewers
- Carries out site observation during construction where the consented design requires it
- Signs the Record of Work confirming the design has been carried out to consent
That’s the work an LBP Design Class designer does to satisfy E2 on a typical renovation. It’s not paperwork. It’s a personal sign-off that becomes part of the building’s permanent council record — and follows the property through future sales.
Important: Restricted Building Work designed without an LBP — or carried out without LBP supervision — can result in an Auckland Council Notice to Fix, infringement fines, refusal of a Code Compliance Certificate (CCC), and significant problems at sale. See the LBP framework explainer at building.govt.nz.
💡 Homeowner tip: Ask your designer for their LBP licence number before you sign a design contract. Cross-check it on the public register at lbp.govt.nz. It takes 30 seconds and tells you exactly what they’re licensed to do.
Leaky Building Era Homes and What E2 Means for Auckland Owners Today
You can’t talk about E2 in Auckland without talking about the leaky building era — roughly 1994 to 2004, with some homes built later than that also affected. The crisis cost the country billions. Individual homeowners faced bills of $100,000 to $500,000+ to reclad properties that had been silently failing for years. The lessons of that era drove the changes that produced today’s E2, today’s LBP system, and today’s recladding industry.
What went wrong
The Building Industry Authority (the predecessor body to MBIE’s Building System Performance branch) approved a range of monolithic plaster cladding systems in the 1990s. Builders adopted them rapidly. The cladding was direct-fixed (no cavity behind it), the framing was often untreated kiln-dried pine, the detailing at junctions was often poor, and the inspection regime didn’t catch the failures until water damage had already destroyed the framing.
By the early 2000s, the scale of the failure was becoming clear. Government inquiries followed. The Hunn Report (2002) and the Overview Group Report (2002) documented the crisis. The Building Act 2004 was the legislative response — introducing tighter regulation, the LBP system, mandatory cavity construction in most cladding systems, and stricter inspections during construction.
How to tell if your Auckland home is leaky-era affected
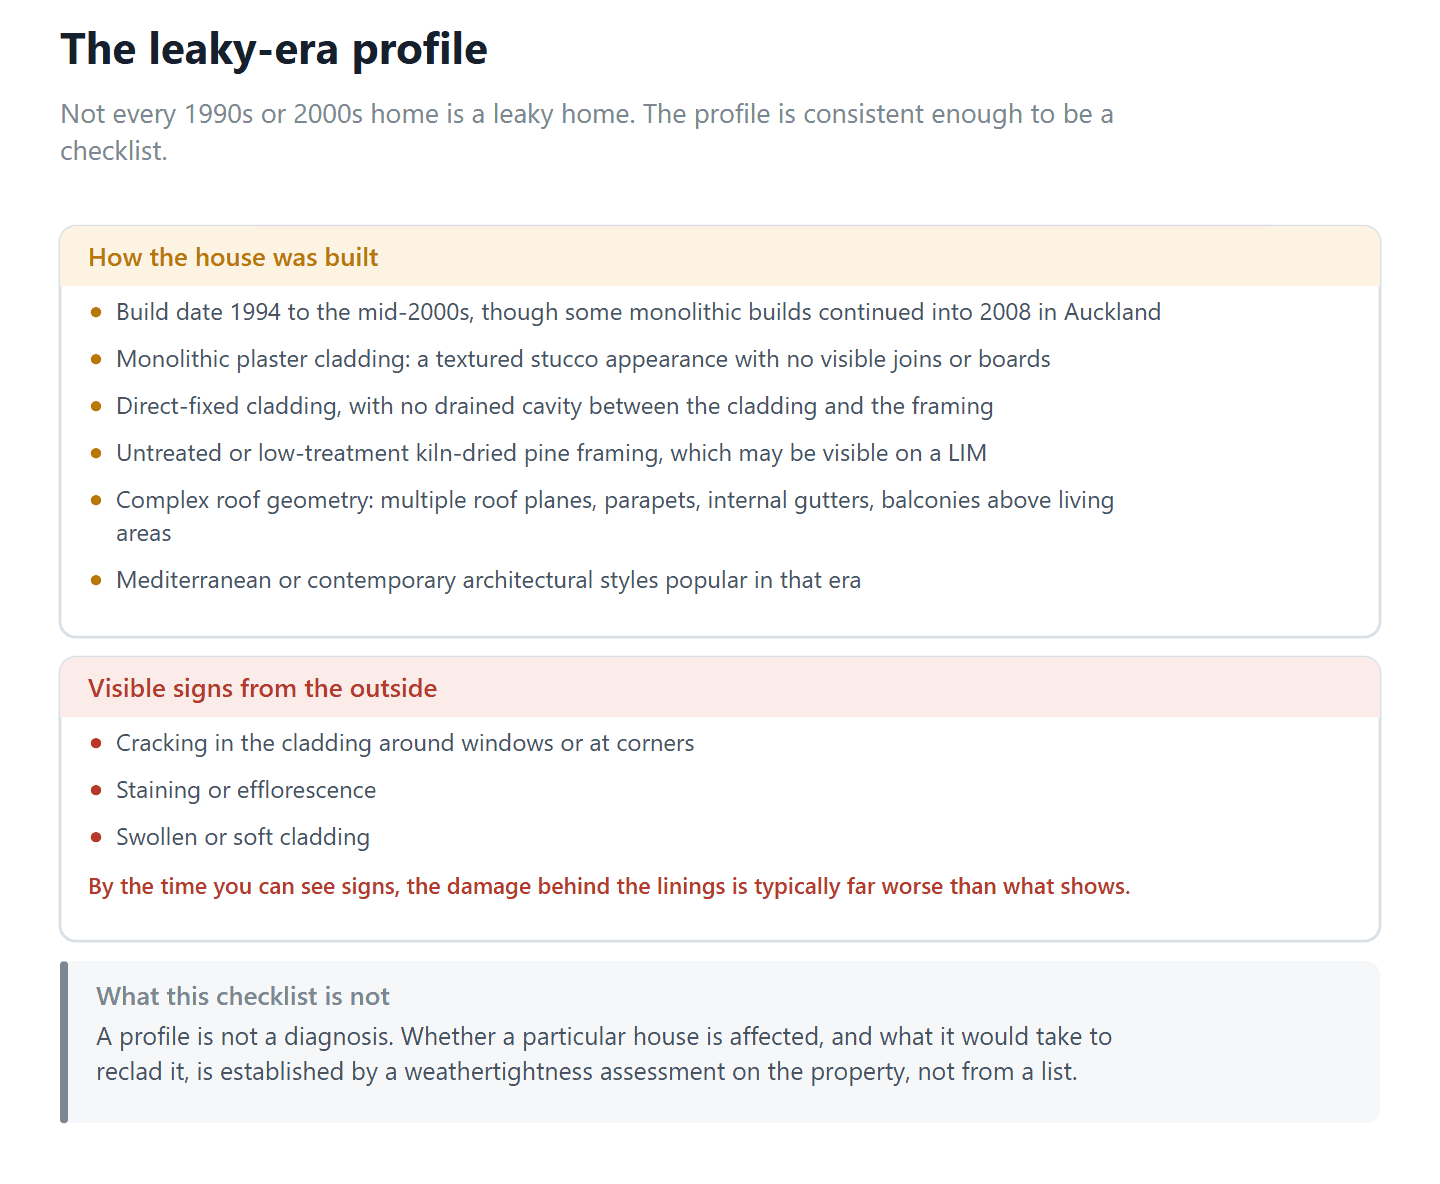
Not every 1990s or 2000s home is a leaky home. But the profile is consistent enough to be a checklist:
- Build date 1994 to mid-2000s — though some monolithic builds continued into 2008 in Auckland
- Monolithic plaster cladding (textured stucco appearance, no visible joins or boards)
- Direct-fixed cladding — no drained cavity between the cladding and the framing
- Untreated or low-treatment kiln-dried pine framing (visible on a Land Information Memorandum, or LIM, if you have one)
- Complex roof geometries — multiple roof planes, parapets, internal gutters, balconies above living areas
- Mediterranean or contemporary architectural styles popular in that era
Visible signs to watch for, from the outside: cracking in the cladding around windows or at corners, staining or efflorescence, swollen or soft cladding, discoloured patches, gaps at flashing details. From the inside: soft linings, mould spots in corners, swelling skirting boards, musty smells, paint bubbling.
By the time you see visible signs, the damage behind the linings is typically far worse than what you can see.
Recladding a leaky-era Auckland home today
A modern reclad on a leaky-era home is a comprehensive project. The cladding comes off entirely. The framing is exposed and assessed. Rotten framing is replaced. A drained cavity is installed (which the original build didn’t have). New building wrap goes on. New cladding — typically weatherboard, fibre-cement panel, or contemporary metal — goes on with a full set of E2-compliant flashings. New windows are commonly part of the work because the existing aluminium joinery rarely integrates with the new cladding system.
For a 180m² monolithic-clad home in Mt Albert built in 1998, a full reclad with framing repairs, new cavity construction, new windows and modern cladding is realistically a $250,000-$400,000+ project depending on extent of damage. The Building Code compliance — primarily E2 — is the design work that holds the whole project together.
Pre-purchase weathertightness due diligence
If you’re buying an Auckland home built in the 1994-2004 window, a weathertightness assessment is non-negotiable. Options include:
- Licensed building inspector (look for members of the New Zealand Institute of Building Surveyors, NZIBS)
- Independent weathertightness specialist
- Moisture testing by a qualified assessor — non-invasive or invasive depending on findings
- LIM (Land Information Memorandum) from Auckland Council to check consent history and any prior issues
The cost of a weathertightness assessment ($800-$2,500 depending on depth) is a fraction of the cost of buying a home that needs a $300,000 reclad you didn’t see coming.
Important: If you’re purchasing a leaky-era Auckland home with the intention to renovate, get the weathertightness assessment before you go unconditional. Discovering you need a $250,000 reclad after settlement changes the entire project economics. MBIE’s “Signs of a leaky home” page is a useful starting reference — see building.govt.nz.
💡 Homeowner tip: If your renovation budget is being stretched by an unexpected recladding requirement, talk to your designer about staging the work. A full reclad is one project; a partial reclad to the affected elevations only — done compliantly — can be another. The right scope depends on the assessment.
The Practical Decision Tree for Auckland Homeowners
If you’ve read this far, you’re probably trying to work out what to actually do next. Here’s the practical sequence we use with our own clients.
Step 1 — Establish your home’s profile
Get your home’s build date and cladding system clear. If you don’t know, the LIM and the property file from Auckland Council will tell you. Match it against the leaky-era risk profile above. Your home’s age and cladding type determine which Acceptable Solution will apply if you renovate, and what existing weathertightness risk you’re starting from.
Step 2 — Define the renovation scope
Be specific about what you want to do. “Open up the back of the house” is a scope that hides three different consent and E2 outcomes inside it. A glazed extension. A reframed wall with a new opening. A repositioned door. Each one has a different E2 implication. The clearer your scope, the better your designer can tell you what you’re actually signing up for.
Step 3 — Engage an LBP Design Class designer for feasibility
Before drawings, before consent, before contracts — get a feasibility assessment. At Sonder, we offer a free feasibility report for exactly this reason. It tells you what your home can do, what consent path applies, what E2 considerations are in play, and what a realistic budget looks like.
Step 4 — Consent and design
If feasibility checks out, the next phase is detailed design, consent documentation and lodging with Auckland Council. The E2 design work happens here — Acceptable Solution selection, junction detailing, flashing schedules, cladding specifications.
Step 5 — Build with an LBP-licensed builder
Restricted Building Work has to be carried out by an LBP — usually Carpentry Class — under the design produced by your LBP Design Class designer. We work closely with builders we’ve vetted for weathertightness work. Our renovation execution partner Superior Renovations handles end-to-end build delivery on many of our projects.
Step 6 — Records of Work and CCC
At the end of the build, every LBP on the project files their Record of Work confirming the work has been done to the consented design. Auckland Council then issues the Code Compliance Certificate (CCC), which is the document proving your renovation meets the Building Code — including E2.
This is where the system actually works. The CCC is the moment all the regulatory complexity pays off. Your home is now documented, compliant, and (importantly) sellable without a weathertightness flag against it.
The Practical Takeaway for Auckland Homeowners
NZBC E2 External Moisture is regulation written in response to a billion-dollar industry failure. It’s detailed, it’s prescriptive, and it’s enforced because the alternative — pre-1994 weathertightness practice — cost the country too much. For an Auckland homeowner planning a renovation, extension or reclad, E2 isn’t an obstacle. It’s the framework that determines whether your project becomes a sound investment or a problem that haunts you at resale.
The 4th edition of E2/AS1 came into effect on 28 July 2025. The Building Code keeps moving. The LBP system keeps the people responsible for the work accountable. The Auckland Council consent process keeps the design honest. And the recladding industry — still active, still busy across the Auckland isthmus and North Shore — keeps reminding the rest of us why E2 matters.
If you’re working through what E2 means for your specific home, your specific project, your specific budget — that’s exactly what our feasibility process is built for. We tell you what’s possible before we draw anything.
➡ Book a free consultation with Sonder Architecture
➡ Request your free feasibility report
➡ Auckland renovation and extension design — how we work
➡ See recent projects we’ve done across Auckland
What is NZBC E2 External Moisture in plain English?
NZBC E2 is the New Zealand Building Code clause that requires every home's roof, walls and external openings to keep water out. It has four jobs: prevent water entering the building, prevent materials absorbing and transmitting water inwards, prevent water accumulating in wall cavities, and allow any moisture that does enter to dry out. E2 sits in Schedule 1 of the Building Regulations 1992 and applies to almost every Auckland home.
What is the difference between an Acceptable Solution and a Verification Method under E2?
An Acceptable Solution (like E2/AS1) is a deemed-to-comply recipe — follow it exactly and Auckland Council accepts the design meets E2. A Verification Method (E2/VM1 or VM2) is a calculation-based route used when the design doesn't fit the standard recipe. Most Auckland renovations use Acceptable Solutions because they're faster, cheaper, and council reviewers know what they're looking at.
What changed in the E2/AS1 4th edition that came in on 28 July 2025?
The 4th edition of E2/AS1 updated requirements around drained and ventilated cavity construction, drainage path detailing, parapet and balcony detailing, flashing geometry at openings, and how wind zones are applied. If your designer is still working from the 3rd edition documents that ran from 2005 to mid-2025, your Auckland Council consent application may come back with requests for information. Confirm the edition before lodging.
Do I need to comply with E2 if I'm only renovating, not building new?
Yes — any work that affects your weathertight envelope must comply with E2. That includes recladding, extensions, structural alterations to external walls, new windows or doors of different size, deck-to-wall connections, and most roof penetrations. The trigger isn't whether it's a renovation, it's whether the work touches the building's water-resistant envelope. If it does, E2 applies.
Is E2 compliance design Restricted Building Work?
Yes. Weathertightness design is designated as Restricted Building Work (RBW) under the Building Act 2004. That means it must be designed and supervised by a Licensed Building Practitioner in the Design Class. The LBP files a Record of Work at the end of the project taking personal responsibility for the design. Anyone working on E2 design without an LBP Design Class licence is doing so unlawfully under the Building Act.
What is a Licensed Building Practitioner (LBP) Design Class designer?
An LBP Design Class designer is a licensed practitioner authorised to design and supervise Restricted Building Work — including weathertightness, structure and other high-risk areas. The Design Class has tiers: Design 1 (limited scope), Design 2 (most residential renovations and small commercial), and Design 3 (taller and more complex buildings). You can check any designer's LBP status on the public register at lbp.govt.nz. At Sonder, restricted design work is carried out or supervised by an LBP in the Design Class.
How do I know if my Auckland home is a leaky building era home?
Homes built between roughly 1994 and the mid-2000s with monolithic plaster cladding, direct-fixed (no drained cavity) construction, and untreated kiln-dried pine framing fit the high-risk profile. Visible signs include cracking around windows, staining, soft or swollen cladding, paint bubbling, soft interior linings, mould, and musty smells. A weathertightness assessment from a licensed inspector (typically $800-$2,500) is the definitive way to confirm. By the time visible signs appear, damage behind the linings is usually worse.
How much does a full Auckland recladding project cost?
A full reclad on a standard 150-200m² Auckland home typically costs $150,000 to $350,000, depending on size, cladding choice, and the extent of framing damage found behind the existing cladding. Add $10,000-$30,000 for new windows if the existing joinery doesn't integrate with the new system. Consent fees sit in the $7,000-$12,000 range for projects of this value. Leaky-era homes with significant framing damage can exceed $400,000 once full repairs are factored in.
What happens if E2 work is done without proper consent or LBP design?
Auckland Council can issue a Notice to Fix, infringement fines, and refuse a Code Compliance Certificate (CCC). Without a CCC, your home becomes harder to sell, insurance may be affected, and future renovations get more complicated. If the work was Restricted Building Work done without an LBP, the LBP framework itself can be enforced by MBIE. The downstream cost of unconsented external work — especially on resale — usually significantly exceeds the cost of doing it correctly the first time.
Does Auckland Council have specific E2 rules different from the rest of NZ?
The Building Code clause E2 is national, but Auckland Council enforces it through its e-consent system and inspection regime. Auckland has specific wind zone classifications, coastal exposure considerations, and a higher proportion of leaky-era homes than other regions — all of which affect how E2 is applied to a specific project. Auckland Council's standard processing target for building consent is 20 working days, but complex E2 designs with requests for information can take significantly longer.
When does a renovation trigger consent because of E2?
Any work that affects the weathertight envelope — recladding, extensions, new external openings, structural changes to external walls, deck-to-wall junctions, most roof penetrations — generally requires consent and triggers E2 design. Like-for-like replacement (same size opening, same cladding interface) can be Schedule 1 exempt under the Building Act 2004, but the exemptions are narrow and councils enforce them strictly. If you're unsure, ask an LBP Design Class designer before work starts, not after.
What is the difference between an architect, an architectural designer, and a draughtsman in NZ?
In NZ the title 'architect' is legally protected — only people registered with the New Zealand Registered Architects Board (NZRAB) can use it. An architectural designer designs buildings but isn't NZRAB-registered. A draughtsman draws plans but isn't necessarily licensed for Restricted Building Work. For any project involving E2 weathertightness, your designer must hold LBP Design Class or work under direct supervision of someone who does. At Sonder, that work is done by an LBP Design Class designer.